 |
| home | about | making of | videos | faq | contact |
 |
|

Because this scene was the hardest and longest of the lot, the "making of" spans several pages.
Here are quick links to take you to the other pages to save you scrolling down the page or going
through stuff you don't care that much about.
| |
21st in filming order. We always knew this would be the last scene we shot and that we
had to skill up in order to do it. Turns out this was an understatement of Morpheus-like
proportions. First of all, we knew we had to build a special rig for the camera in order to pull off this scene. We needed a way of rotating the camera around the set and being able to track it up and down, in and out, and also tilt the camera up and down. The result was the Orbital Camera Rig or OCR for short, it was conceived and designed by using a fairly basic strategy. We went to a huge hardware store and wandered about in the plumbing section, looking for parts that looked suitably OCR-like. At one point we were approached by one of their staff, who enquired as to what we wanted to build. I think it's safe to say that he regretted asking us, although he may have got an amusing story out of it. We found a big pvc pipe for the main column, a stiff piece of pressure-pipe for the boom arm and a bunch of other pipes and T-pieces for the for ... well ... we were just sure we needed them. A collar was found that we could file down a little so it could slide up and down the main column, and a few other bits and pieces finished the job. | |
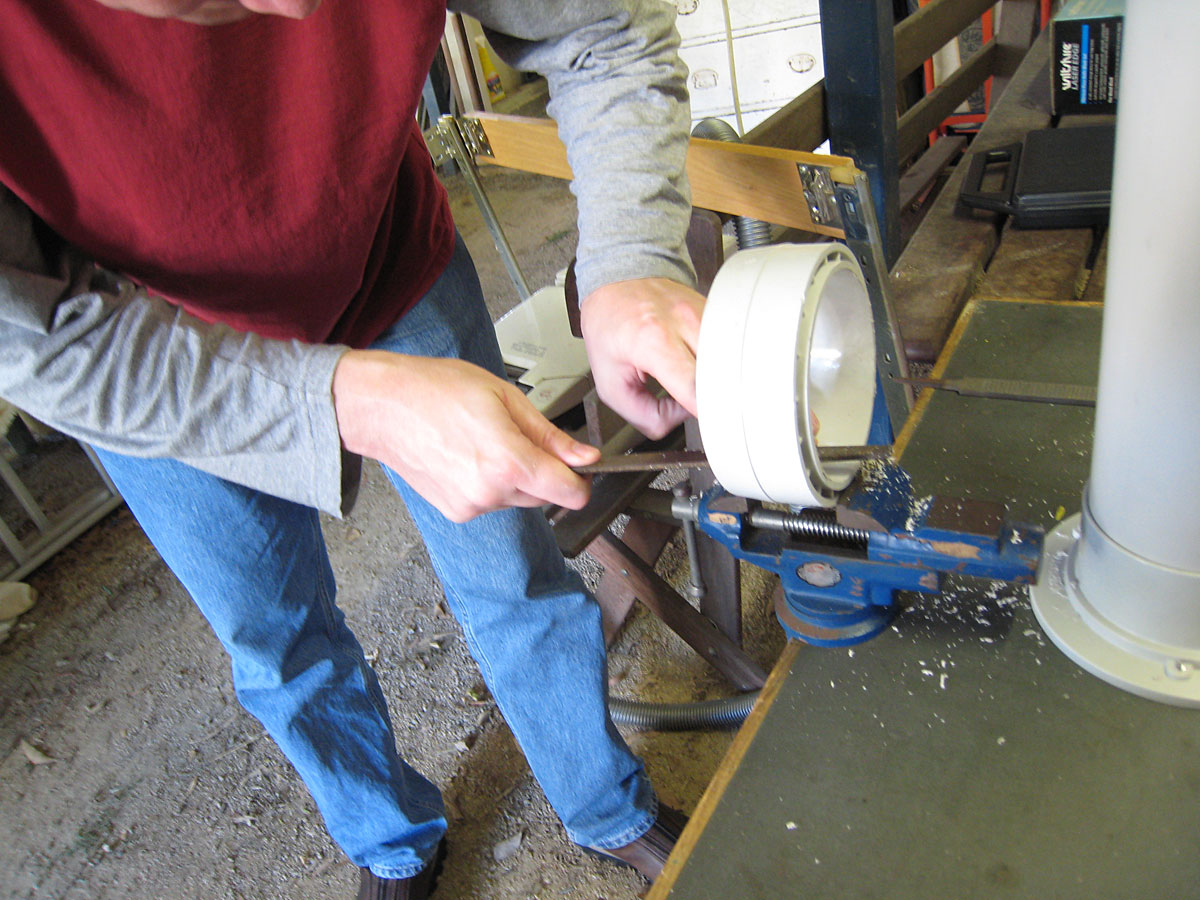 |
Here's Steve filing down a small lip inside the collar so it can slide over the
main column, which can be seen on the right. In a perfect world the collar would have had a circular inner shape, and a nice square-edged outer shape for us to mount things to, perhaps with a nice wide upper surface. Unfortunately we had to make do, and it caused us a few issues. |
This collar would then have a bracket of some sort attached to it, to which we could connect a
boom arm assembly. The whole thing needed to be able to slide up and down the column, giving
our camera the up and down movements needed to duplicate the effects seen in the original movie
footage.
| |
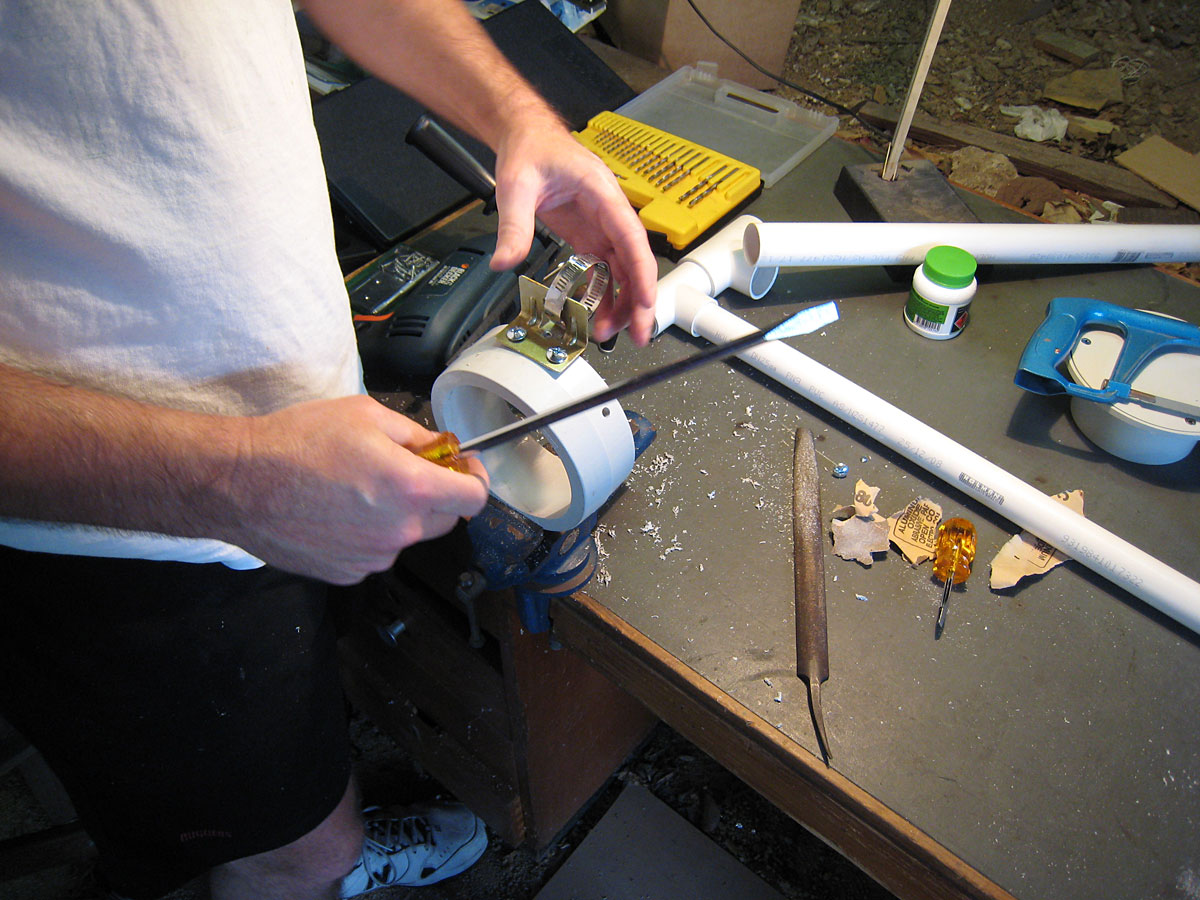 |
Here we can see Trevor has finished screwing the mounting bracket onto the
collar to hold the boom arm. The boom can be seen on the table in front of him
- it's some PVC pipe and some elbow connectors. Basically we needed a mount
that would come straight out from the collar, up high enough to clear our set,
and then come back in over the set with our camera on the end. To make up for not having that square outer shape, we've mounted a bracket here to hopefully give the boom some support. |
The whole thing needed to be able to slide up and down the column, giving our camera the up and
down movements needed to duplicate the effects seen in the original movie footage. Preliminary
testing by sliding the collar up and down the column by hand seemed to indicate it was going
to work.
| |
 |
On the left is the partially finished product. The horizontal pipe sticks out
to the left in order to counter-weight the other side, which will have another
L-shaped PVC pipe construction attached to it to go up and back over the set.
The set itself will sit on the top of the central column. We also figured we
could hang some weight off the left side to counter-balance it more if need
be.
|
At this point I'm sure you're wondering what we used to allow our camera to move in and out, as
the OCR at present obviously doesn't support that kind of movement in any useful way. Thankfully
we had a ready-made piece of high-tech equipment on hand to solve this issue for us, and it just
needed to be slotted into place. Some time earlier some people nearby had thrown out an old busted up set of cupboard drawers. One of these had some nice metal slides on it, and Trevor made off with it for reasons known only to himself. When we came to have to build the OCR, one of the metal slide and bearings were perfect to mount straight onto the boom arm. | |
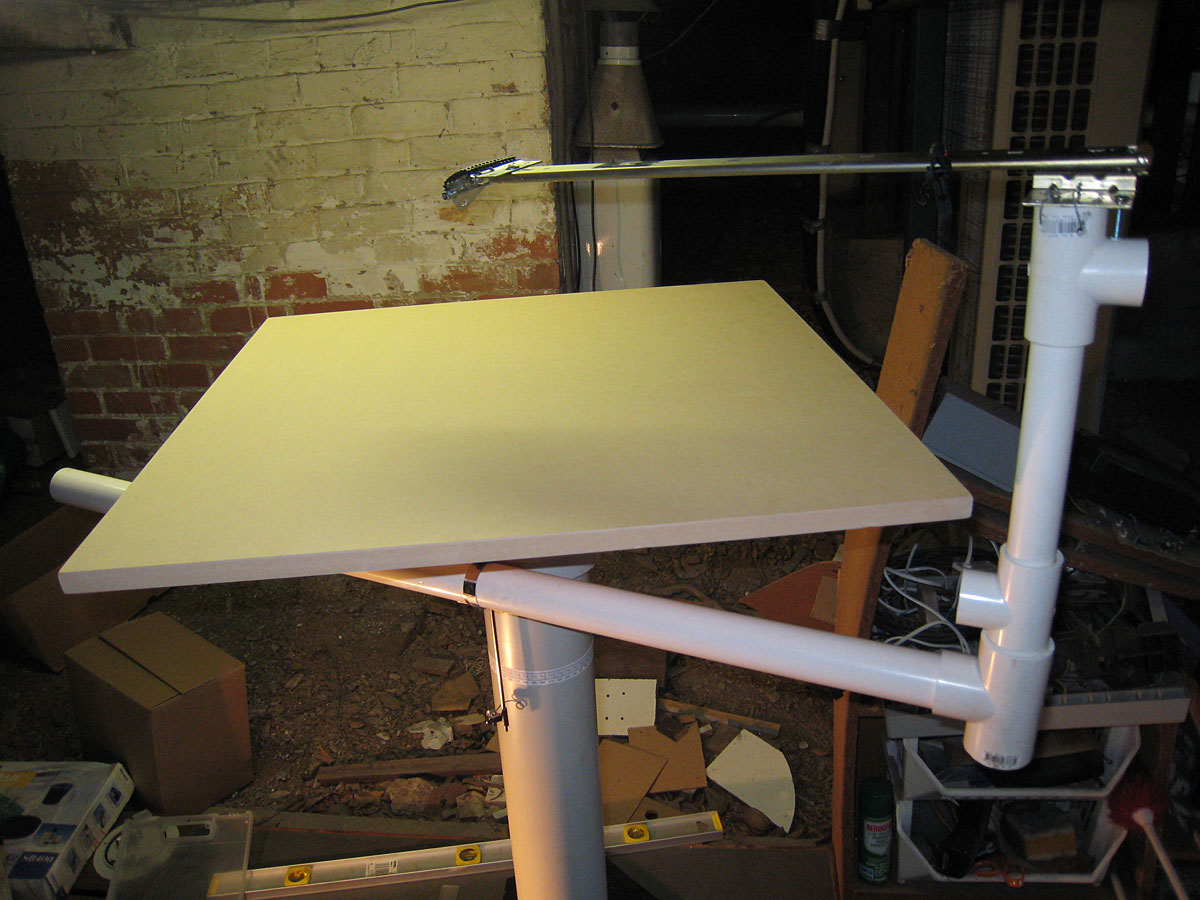 |
Here you can see we have added a large MDF board that the set will sit on and
a cupboard drawer rail that allows the camera to move in and out. On the end
of that slide rail you can see the Manfraudo Mofo (see scene 16)
which has been altered slightly and screwed onto the end, becoming the Manfraudo Arc.
Our homemade stuff is nothing if not versatile. None of the pipes are actually glued together, they are just jammed in there real good. You can also see that we've fitted an indicator on the collar and a band with some measuring guides on it. This is so we can track where the camera is rotationally around the set. |
 |
At this point major construction was pretty much completed, or at least so we
thought. You can see we've added a bigger printout around the main column, allowing us to track height as well. For any given frame in the animation we can rotate the camera to the correct position for that shot by lining the cross-hairs up with the right spot. The prisms there were for a quick test of taking photos with the camera in odd positions, hoping to be able to get it lower to the set. This didn't work. |
Now that major construction was finished, we needed to stick the camera on it and take it for a test drive.
| |