We were ready to give the OCR a test, and also test our bullet trail ideas.
As you can imagine, we'd given quite a bit of thought as to how to best represent the visual
effect of the trail that the bullets leave in their wake as they fly through the air.
|
|
As you can see here in the original movie footage, each trail consists of a
sine wave of circular lens-like shapes, that grow bigger as they age. That is,
later trails are skinnier than the longer-lived earlier trails.
In order to reproduce this effect for our scene, we thought we'd have to go to
something not made by the glorious Lego corporation. As luck would have it, we
found some sequins that came in the right sizes, and some flower-arranging
wire to string them on.
|
|
We tried a few different combinations of sequins until we hit upon a design
that looked pretty good.
We created a few strands of these, which was time-consuming and fiddly, but at
least we could sit comfortably to do it.
When you looked down the length of the wire it looked pretty darn nifty, to
be honest.
Here you can see a quick test we made with a suitably dynamic movie-style
camera angle.
|
After this, we needed to come up with a method of mounting the wire and sequins to the set so it
looked like the agent was firing it. Although a further threat to our masculinity, we acquired
some further flower arranging equipment in the form of some foam blocks. We could push the wires
into and through this foam, and mount the backdrops up against it. The wires would have to pass
through pinholes in the background, but this sounded like it would be pretty easy.
Trev bought the foam at a local craft shop and was surprised to find that flower arrangement
foam came in two different kinds: wet and dry. As it happened two old ladies were also looking
for the same thing, and they probably sensed my confusion. "What do you want it for dear?"
"I am doing a stop motion Lego animation of a scene from The Matrix and I will be using the
foam to hold wire bullet trails in place."
"Oh, you'll want dry then."
I guess they have done it all before!
We would start by threading all the sequins onto the wires and putting the whole trail into the
scene. Then we would film everything in reverse order, pulling the wires through the foam and
removing the sequins as they fell off the end. This would make it look like the trail was
disappearing into the foam, which when reversed would look like it was coming out of the foam.
With the foam up against the agent, the trail would magically appear out of his gun, or
thereabouts.
|
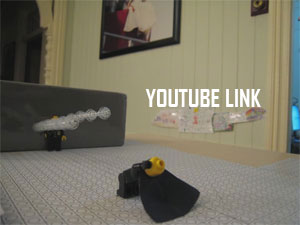
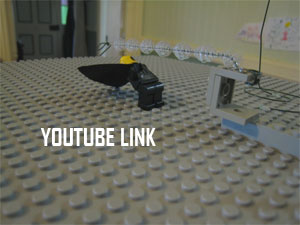
Here's a link to one of our early test videos using the sequin trails, shot
backwards and then reversed to make the animation.
It wasn't great, but it was acceptable, and amusing enough to warrant further
tests.
It also looks like a grenade goes off in that room in the background at the
end there. The keen-eyed may also spot a Devo Energy Dome.
| |
|
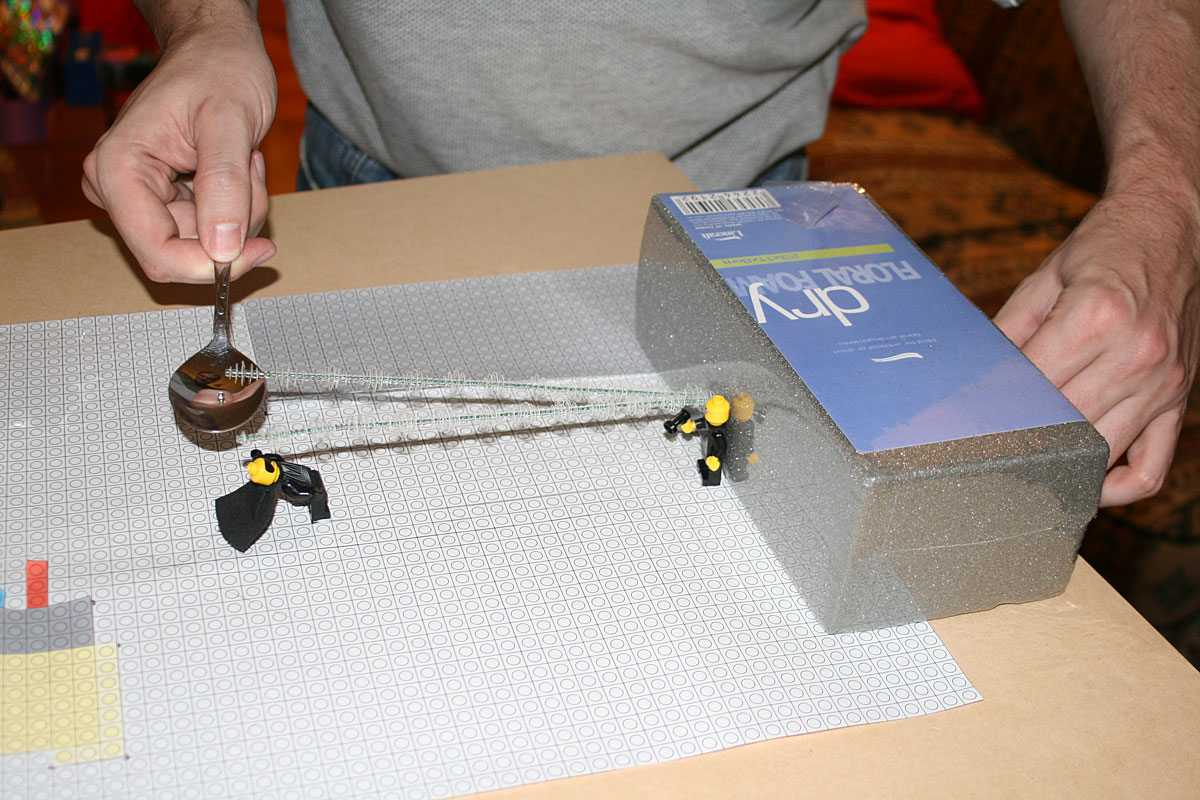
Whilst pulling the wires backwards though the foam block, as you can see here,
we had to keep the sequins from dropping onto the set. It's hard to fish them
out from around the models without disturbing them. The method we chose for
this was to catch them in a spoon as they fell off the end. Nothing fancy, but
it worked.
You can also see our scale printout on the base there. This was printed out to
match the size of the Lego, and the circles are the same size as the studs. The
different coloured pieces on the far left are to indicate pieces of the building
that sits there, and the large gray area is the platform that the helicopter
sits on.
|
During this testing phase we made this complete fly-around video, but without
any on-set animation. This let us test the OCR to see if it would put us back
to our starting position when we finished the rotation. If the resulting animation
didn't loop without a jump in it, then we'd know there was some drift. As you
can see from the video shown here, it worked quite well.
If you can set the video to loop continuously, you'll get to see some really odd
optical illusion. If you pick one of the bottom corners of the baseplate and stare
at it, it seems as though that patch of Lego rotates within the whole baseplate,
unconnected to the rest of it.
Could make you seasick.
| |
After all this testing we realised we needed something to keep track of the tilt of the camera. It
wasn't good enough to just allow the camera to tilt, we needed some way of knowing how far it was
tilted, or at least to be able to tilt it by defined increments.
|
|
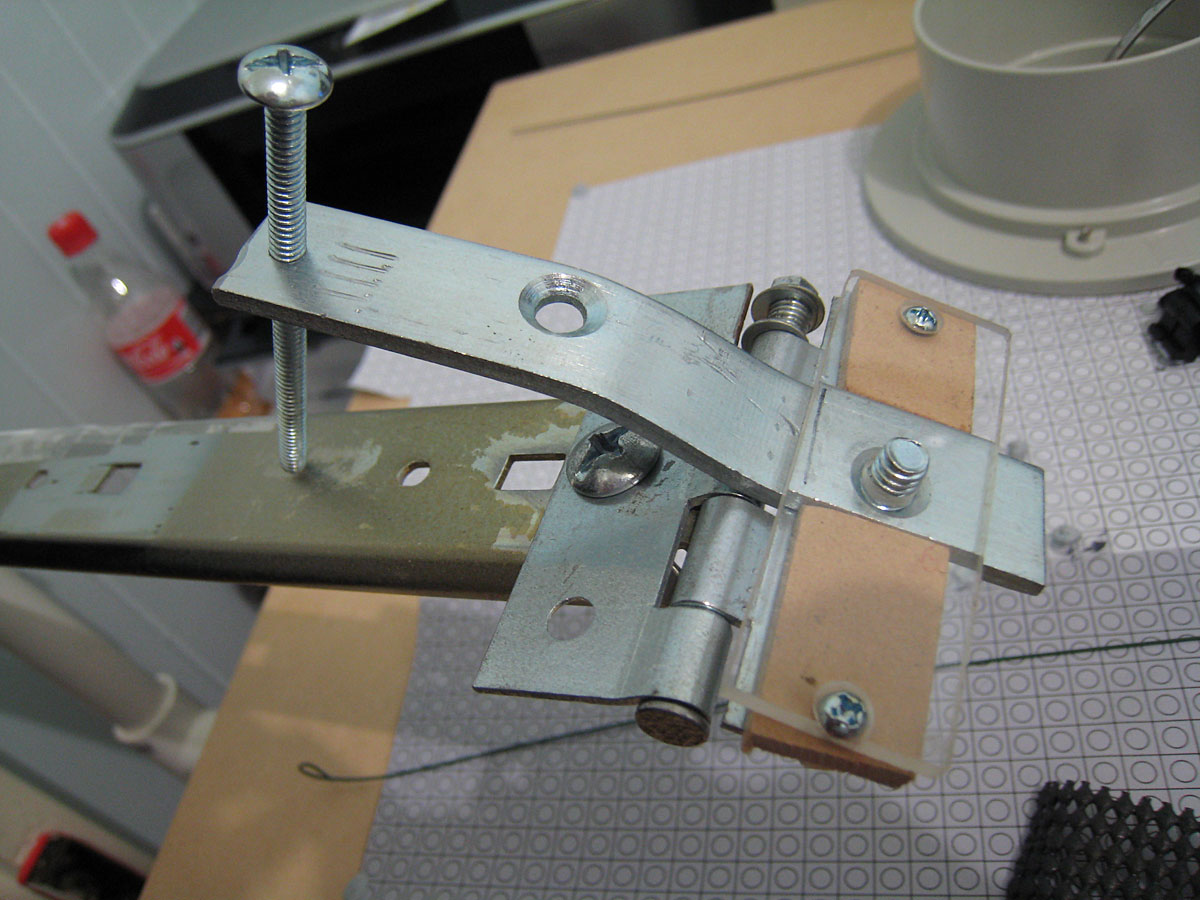
And here you can see the new tilt mechanism. The Manfraudo Arc has been
transformed again, with the addition of an arm through which a long screw has
been tapped. This allowed us to wind the camera up and down with ease, and
with as fine an adjustment as needed. The upwards-facing screw poking through
the perspex on the right attaches to the standard tripod mount in the bottom
of the camera.
A wire pointer was Blu-Tacked onto the top of the screw to indicate what direction
it was facing and we just kept a track of how many turns were on it at all times.
|
At this point we started thinking about how we were going to move the camera through the bullet
trails. In the original movie, as the camera swings around to the halfway point directly between
Neo and the agent, it intersects the trails. We obviously couldn't do this as our trails are
physical objects, not a computer effect. We figured we'd have to subtly raise the trails as our
camera approached them, and lower them down as it got past. Done smoothly and sneakily enough,
we figured we could get away with it.
|
|
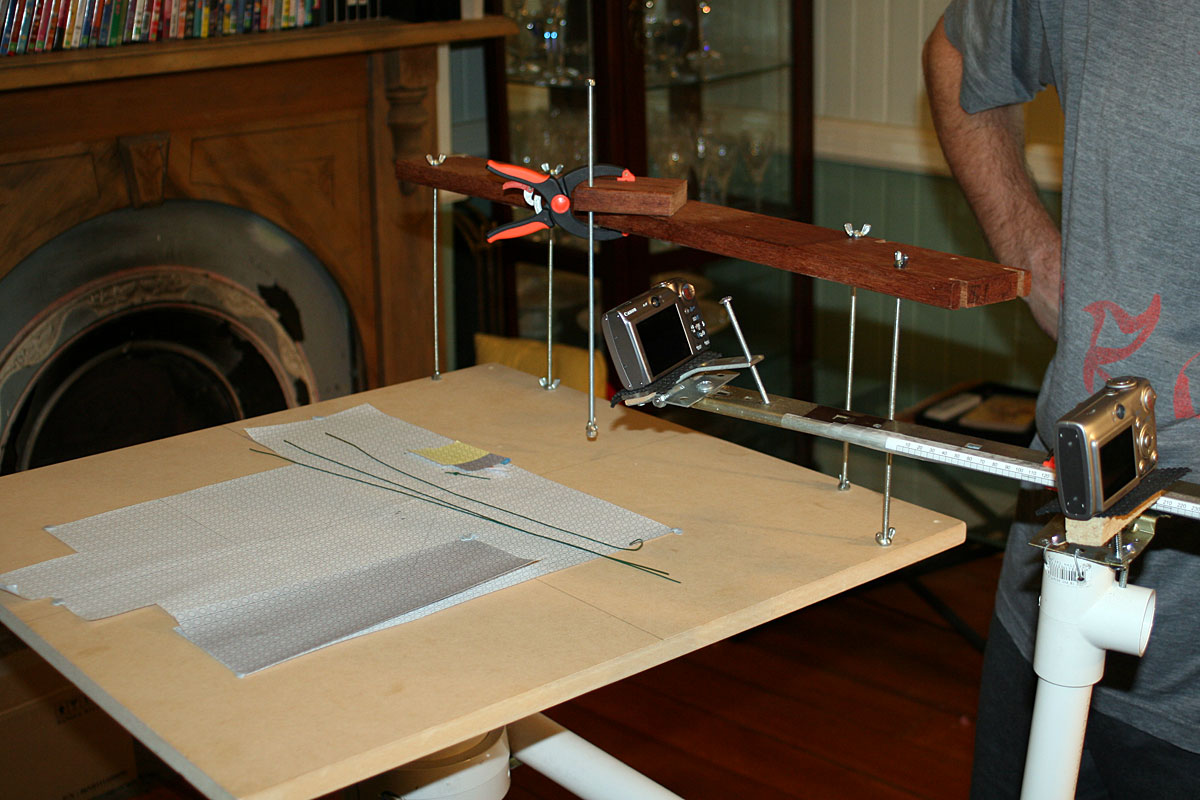
Here you can see the gantry that we built to pull this off.
As you can see, it's a piece of timber with four screw-down legs that lock
into the base of the set. It can sit fairly sturdily on 3 out of the 4 legs,
so that allows us to screw a leg up out of the way as the camera swings by,
and drop it back down into the set once the camera has passed.
With 3 legs always on the set, we figured it would be stable enough, and the
movements of the legs up and down didn't shake the set TOO much.
|
There is also a rod in the centre, where the clamp is. This was to be used
to raise and lower the trails.
You may also have noticed the second camera attached to the OCR. We figured
that it didn't take much longer to take two photos of each frame than one,
so we could film a "making of" video at the same time. In the end we actually
had 4 cameras!
We were getting close to starting the filming at this point, or so we thought.
|
|